Fishing on the farms and out at sea
Fishing is a side system you build up on your farm step by step - first you grab a rod, a line and a hook and fish straight in the fishing areas, later you build a dockyard and send fishing boats out to sea. Fish stick together in shoals, so you run into several species at once in a single area, and every farm offers a different selection of fish. Active fishing earns you fishing XP and raises your fishing level, which gradually unlocks more equipment and more boats.
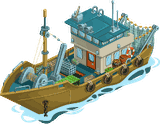
I treat basic rod fishing as a pleasant break from regular farming - it needs almost no attention and over time it gives you a nice collection of catches and a fishing level of your own. But I would only invest in the pricier boats like the fishing houseboat or the trawler once the dockyard is unlocked at level 19, because price tags over a million Dollars are definitely not pocket change.
You get nowhere without a rod, a line and a hook
Before you catch anything, you need three basic pieces of equipment - a rod, a line and a hook. Without them you cannot fish at all, and everything else is just a bonus on top. The handy part is that you can swap equipment even while you are fishing, so it pays to carry a wider selection and adapt it to the situation.
To use any equipment, you first have to pack it into your fishing case - even the best gear is useless to you unpacked. You can buy or restock rods, lines, hooks and other extras in the fishing shop. Equipment also wears down over time, so it pays to keep an eye on what you still own and what needs restocking before you head out on another trip.
Active fishing earns you fishing XP, which raises your fishing level - you can also ask Oleg Fisher to teach you something. Oleg, who guides you through fishing, is on every farm separately, and it is always worth looking him up, because each farm has a different fish to catch.
Every fishing area hides a different shoal of fish
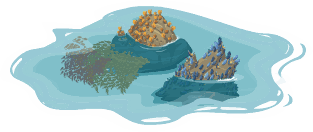
Fish on the farm look for safety in bigger shoals, so in one fishing area you always come across several species at once. By species they split into four fixed groups.
For every species in a group the game also shows the percentage chance that it turns up in that area, so the result of a single cast is always a bit of a lottery. Once all the fish in an area have been caught, the game announces that there are no fish here right now, and you either wait for the shoal to replenish or move to another farm with a fresh stock.
What works for me is having fishing running on several farms at once - while I wait for the fish to come back on one, I hop over to another, and the shoal restocks in the meantime.
The dockyard opens the way out to sea for fishing boats
Rod fishing is only half the content, the other half happens out at sea. You will not get there, though, until you build the Dockyard on your farm - it unlocks at farm level 19 and can be upgraded all the way to level 8. From the dockyard you then send fishing boats to a chosen fishing area at sea, and for each area the game shows you both the usual travel time and how many fish a boat sent there can catch.
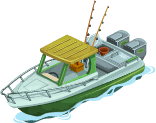
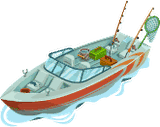
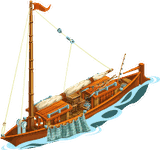
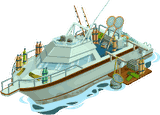
There are five types of boat to choose from, each with a different price and a different maximum upgrade level.
| Boat | Price | Max. level |
|---|---|---|
| Motorboat | 12 000 Dollars | 6 |
| Motor barge | 105 000 Dollars | 6 |
| Norfolk punt | 1 500 000 Dollars | 6 |
| Trawler | 2 000 000 Dollars | 6 |
| Fishing houseboat | 2 500 000 Dollars | 6 |
The motorboat is a small but versatile vessel with a powerful engine for quick trips, while the motor barge is a touch smaller but takes on a bigger load. The Norfolk punt belongs to the old traditional school, yet it does not lack decent fishing efficiency, the fishing houseboat is not that common a sight at sea but it is one of the more stylish and effective pieces, and when I need to fish on a big scale, I reach for the trawler.
Your boat's gear decides how many fish you bring home
For both boats and equipment the game shows a set of numbers that are worth choosing by. Travel time reduction tells you how much shorter the trip to the chosen area gets, capacity sets how many fish the boat can carry, and fish per hour shows how fast its hold fills up. Besides the boat itself you also hire a crew and add-on equipment - for the crew the game tracks how many trips they were hired for, and for equipment how many uses it takes before it breaks, so a cheaper piece may not pay off if it runs out after a couple of trips.
Some equipment also works best only on a specific boat, so it pays to tune the combination to whichever boat you are sailing out with. Before I send a boat out, I always check how many trips to sea it still has left, so it does not end up stuck in the dockyard halfway through kitting it out.
Your catches end up at the Fish market
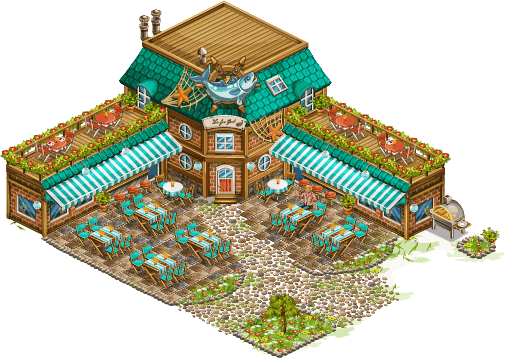
In the end fishing gets you nine kinds of fish and seafood - Oysters, Mussels, Shrimp, Herring, Yellowfin tuna, Lobster, Cod, Salmon and Swordfish. You can sell them at the Fish market, which is another building from the fishing category.
Besides the boats and the dockyard, the fishing buildings also include The Mermaid Bay, which unlocks on the farm at level 12 and can be upgraded up to level 7 for 98 500 Dollars, and two versions of the fishing area itself on the farm - the default one you have available right from the start, and the Sunset area, which you get for 15 000 Gold.